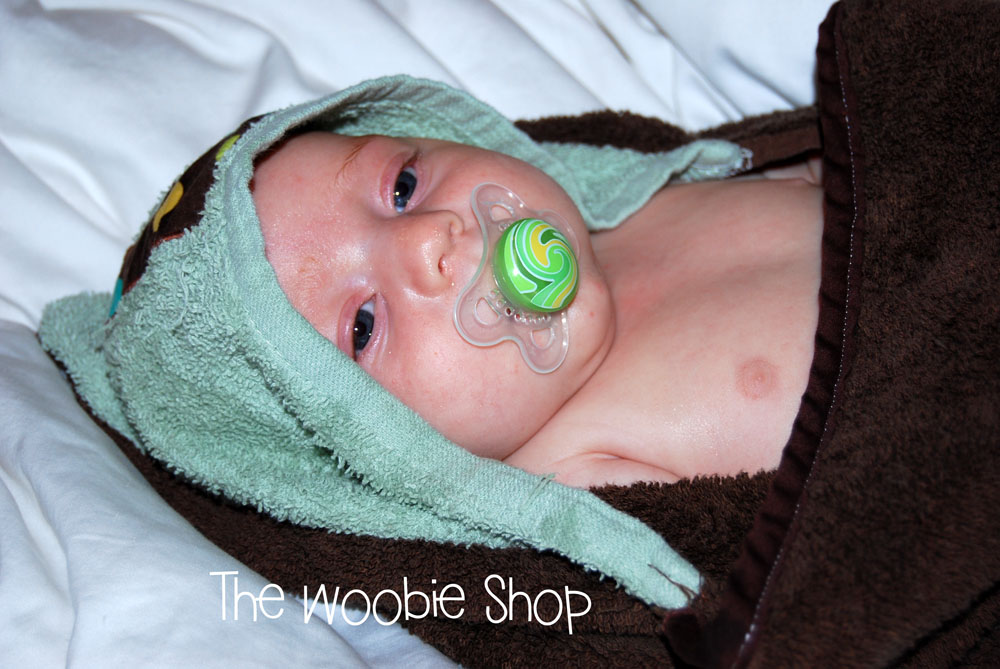
I LOVE those little baby towels with hoods on them. What I love even more is a sweet wet babe wrapped up in a towel and smelling like baby wash...ahh...makes me want to bathe my little guy again.
Only problem in our home is that our little bean has grown so much and so quickly that those baby towels don't quite dry him off, wrap him up well or keep him warm, yet I hate to use big adult towels.
So that's where the mini version of the "Towel Monster" comes into our home....
For this project I used a plush full size towel, hand towel, bias tape, heat and bond and scrap fabric......
Step one: Cut your large towel in half, lengthwise and lay the hand towel in the top corner of your half towel. Using the base towel, trim the hand towel into a triangle so it lines up to form the hood of the baby towel.
Showing posts with label hooded towel. Show all posts
Saturday, June 18, 2011
Baby Towel Monster
Step 2: I wanted to add decoration to my hood, so I took some scrap fabric and cut out a letter "L" for my little bean and appliqued it to the "hood" of the towel.
Step 3: Line up the hood and the towel with right sides together, pin hood in place and sew hood on. (I used a serger on this section to keep the towel from fraying, if you don't have a serger you can zig zag stitch it on your sewing machine.)
Step 4: Turn your towel right side out and add bias tape to any raw edge to give it a finished and polished look.
Add a little one and enjoy your bath time!!!
Posted by The Woobie Shop at 9:38 PM 0 comments
Labels: bath towel, bathtime, DIY, hooded towel, towel monster, tutorial
Monday, January 17, 2011
Making a Hooded Towel
Making your own hooded towel monster:
To create the towel hood:
I bought one hand towel and cut the hand towel in half width wise. (The top of the towel is where the edge is raw from being cut.)
I used some Heat N Bond to attach the ribbon across the width of the towel where I wanted it and added a monogram initial on the top with my machine. I went over top of the ribbon with my sewing machine and stitched it into place. (Not that Heat N Bond isn't great, but for multiple washing and usage, I like to sew everything in place.)
Then I folded the towel so that the right side of the towel (with all the decorations) were touching and did a straight stitch down the raw edge and then went back and did a ziz-zag stitch on the edge to help prevent fraying.
(Sewn edge is here on the right side.)
To Complete the Towel Monster:
I laid out the body towel length wise and opened up my hooded piece so that it would be centered on the body towel. I laid the hood on top of the body towel so the two seamed edges would lay on top of each other and pinned them in place. (Refer to photo.) Then I stitched on top of them with a straight stitch to secure it in place and a zig-zag stitch for more security and decoration.
Now just add your own little monster and enjoy!
Posted by The Woobie Shop at 10:10 PM 0 comments
Labels: DIY, hooded towel, tutorial
Wednesday, January 5, 2011
Let the fun begin! Giveaways are here!
Well with a new year, I wanted to try some new fun....what can be more fun than a free giveaway!
During the holiday break I made several of these kid towels for presents. They were fun to make, simple and let's just say, the one that stayed in our house has become a hit!
So to pass along the fun to my followers I am offering a free personalized towel in green (with your choice of pink or brown accents) and a handmade kid soap set to the winner of this giveaway.
Here's how you can enter- you must complete all three requirements.
- Become a follower of the blog.
- Become a fan on The Woobie Shop Facebook page.
- Leave a comment on this blog posting with your preference of color accent and the initial you would like embroidered on your towel if you win.
Giveaway ends on Jan. 15th at 12 noon. Winner will be drawn at random and contacted for a shipping address.
Don't worry, if you don't win this giveaway, there will be more....and I'll be posting a tutorial and some links on how to make the towel and soap yourself after the giveaway closes.
Posted by The Woobie Shop at 7:49 PM 9 comments
Labels: free, giveaways, hooded towel, kids, towel, tutorial
Subscribe to:
Posts (Atom)