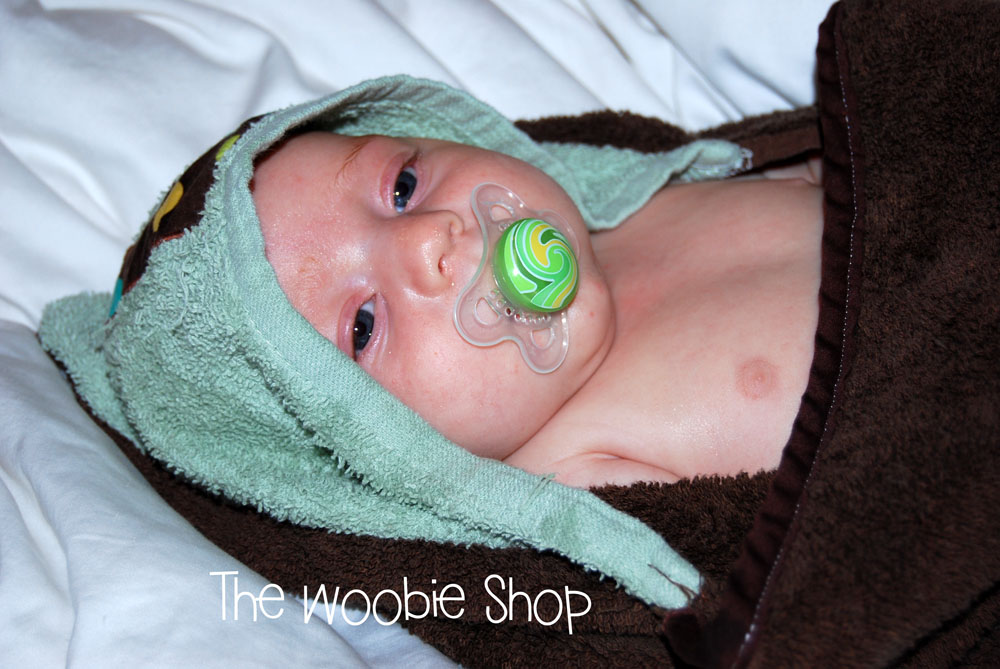
I LOVE those little baby towels with hoods on them. What I love even more is a sweet wet babe wrapped up in a towel and smelling like baby wash...ahh...makes me want to bathe my little guy again.
Only problem in our home is that our little bean has grown so much and so quickly that those baby towels don't quite dry him off, wrap him up well or keep him warm, yet I hate to use big adult towels.
So that's where the mini version of the "Towel Monster" comes into our home....
For this project I used a plush full size towel, hand towel, bias tape, heat and bond and scrap fabric......
Step one: Cut your large towel in half, lengthwise and lay the hand towel in the top corner of your half towel. Using the base towel, trim the hand towel into a triangle so it lines up to form the hood of the baby towel.
Showing posts with label bathtime. Show all posts
Saturday, June 18, 2011
Baby Towel Monster
Step 2: I wanted to add decoration to my hood, so I took some scrap fabric and cut out a letter "L" for my little bean and appliqued it to the "hood" of the towel.
Step 3: Line up the hood and the towel with right sides together, pin hood in place and sew hood on. (I used a serger on this section to keep the towel from fraying, if you don't have a serger you can zig zag stitch it on your sewing machine.)
Step 4: Turn your towel right side out and add bias tape to any raw edge to give it a finished and polished look.
Add a little one and enjoy your bath time!!!
Posted by The Woobie Shop at 9:38 PM 0 comments
Labels: bath towel, bathtime, DIY, hooded towel, towel monster, tutorial
Sunday, June 27, 2010
Shower Re-organization
Due to an obedience issue with my little man and the loss of some bath toys, I decided to finally re-do shower toys and organization in the bathroom. We had been using a small laundry basket in the shower to house all the toys. Downside to this is that water settles in the bottom of the basket and gets icky. :(
I purchased some cheap laundry bags (3 in the bag) and a package of suction cups at the Dollar Tree.
I cut about 11" of ribbon from some of my ribbon stash at home and seared the edges to prevent fraying. Then I sewed it under and above the zipper of the bag.
I took two thin strips of green ribbon, seared those ends, and then sewed it to the top corners.
And VOILA.... this is what we got for the morning..... a new little shower organizer with some foam bath toys and army men...
No more slimy toys in the basket, toys can drip dry and for the $2.14 it cost me in supplies at the store, I can make 3 sets of these to use as presents or small gift additions.
I do like that I kept the zipper on this version rather than the original idea because we do tend to travel to visit family, and this way I can just grab his bath bag when it is dry and put it in his suitcase.
(By the way, the foam package that I used for the toys was $5 at Toys R Us, and it had more than 20 pieces, so I am going to parcel some out in the other 2 little bags I am making for friends.)
Posted by The Woobie Shop at 10:52 PM 0 comments
Labels: bath bag, bathtime, gift, shower organization, tutorial
Subscribe to:
Posts (Atom)